Blog
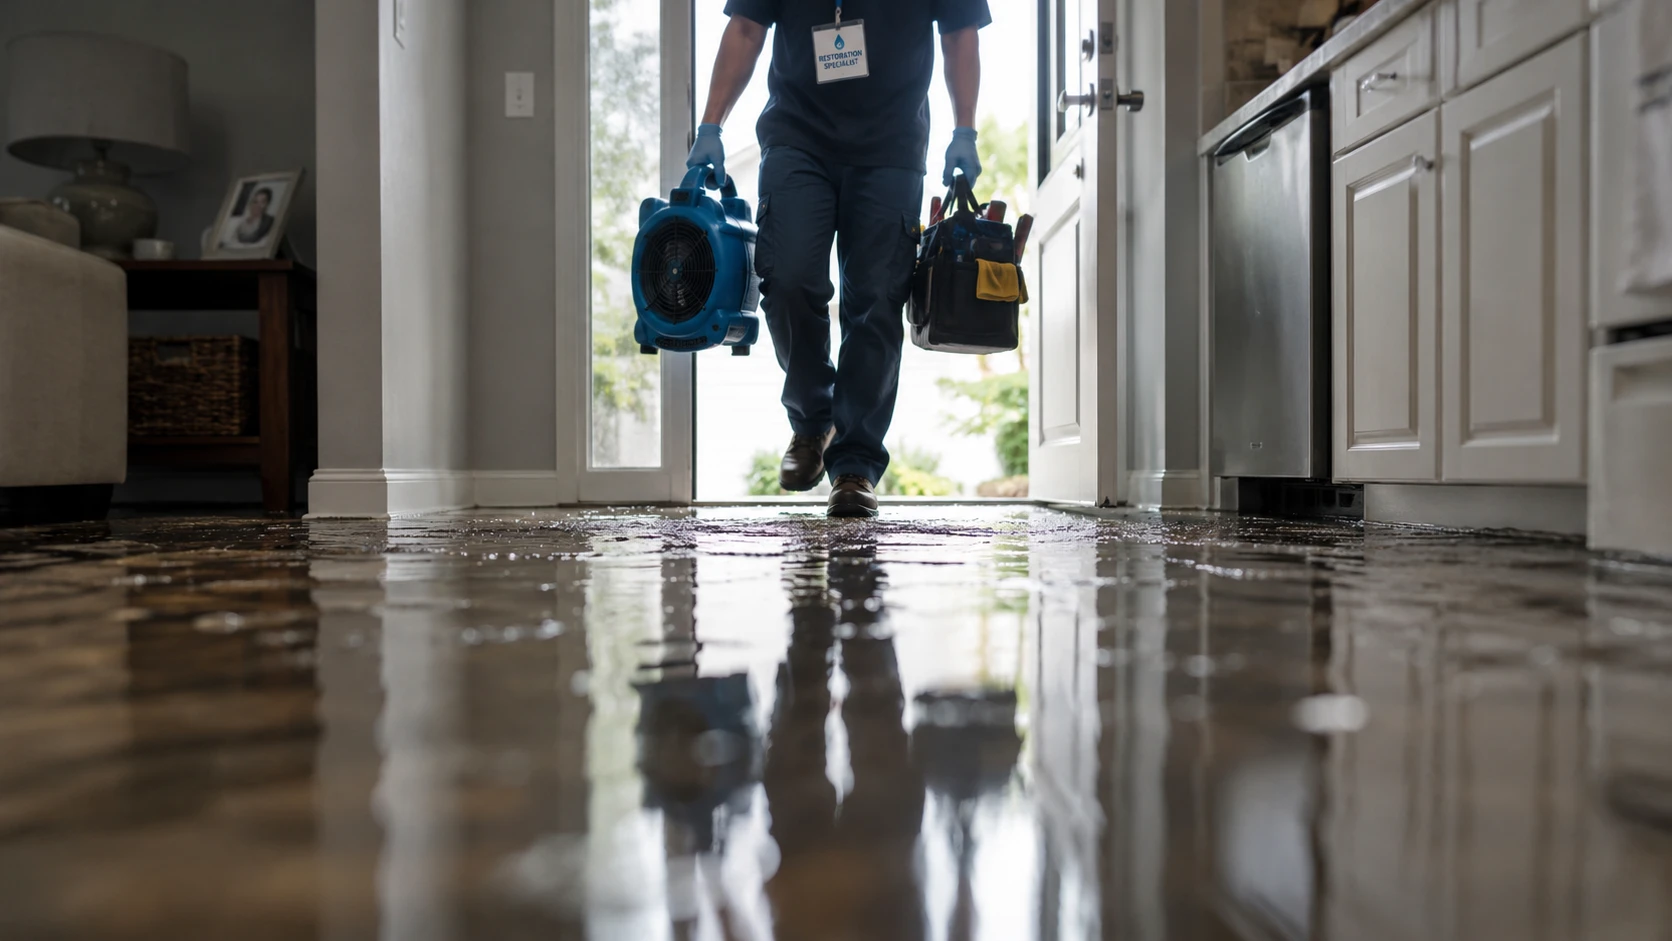
Table of Contents
When water damage occurs, acting quickly is essential to limit further issues. Professional water mitigation focuses on stopping the source of water, removing excess moisture, and stabilizing the affected areas to prevent additional damage.
Here’s a step-by-step overview of what typically happens during a professional water mitigation process.
The process begins with a detailed inspection of the affected areas. Restoration professionals assess:
Specialized equipment may be used to detect moisture behind walls or under floors.
If the water source is still active, it must be addressed before mitigation can continue. This may involve:
Stopping the source helps prevent ongoing damage.
Standing water is removed using professional-grade extraction equipment. This step reduces:
Prompt extraction also shortens overall drying time.
Some materials cannot be effectively dried once saturated. Depending on conditions, this may include:
Removing compromised materials allows remaining structures to dry properly.
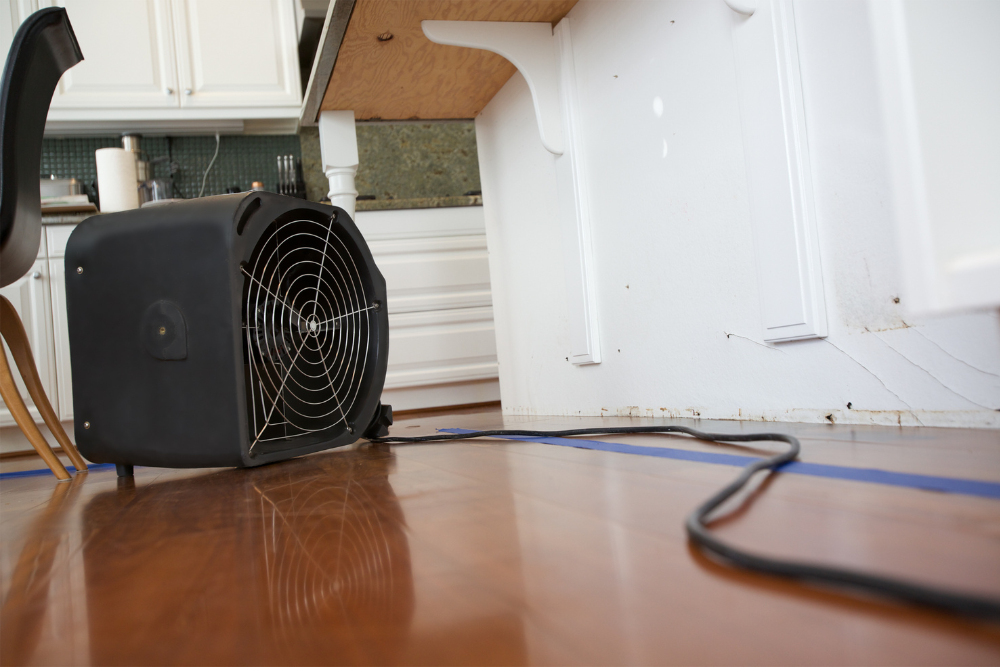
After extraction, drying equipment is strategically placed to remove remaining moisture from:
Air movers and dehumidifiers work together to stabilize humidity levels and promote thorough drying.
Throughout the process, moisture levels are monitored to confirm progress. Documentation may include:
This ensures drying goals are met and supports insurance-related documentation if needed.
Once drying is underway or complete, affected areas are cleaned and sanitized as appropriate. This may involve:
Cleaning helps restore a safe and clean environment.
After mitigation is complete, a final evaluation is performed to ensure:
At this stage, repairs or reconstruction, if needed, can be planned separately.
Professional mitigation helps:
Early mitigation often shortens recovery time and helps protect the home long term.
PHG Restoration Services provides professional water mitigation services designed to stabilize your property and limit further damage. Our team follows industry-standard procedures and uses professional equipment to address water issues efficiently.
Contact PHG Restoration Services to learn more about our water mitigation process.